If you’ve ever reused the same password across multiple sites — or saved credentials in your browser with no backup — Bitwarden is the tool that fixes both problems for free. It’s genuinely open-source, end-to-end encrypted, and works across every device you own. This guide walks you through the complete setup from scratch, including the browser extension, mobile app, and how to migrate from your browser’s built-in password storage.
What Is Bitwarden and Why Use It?
Bitwarden is a free, open-source password manager that stores your logins, card numbers, and secure notes in an encrypted vault. Unlike browser-saved passwords, your vault syncs across every device, is encrypted before it leaves your device, and can be audited by anyone since the source code is public.
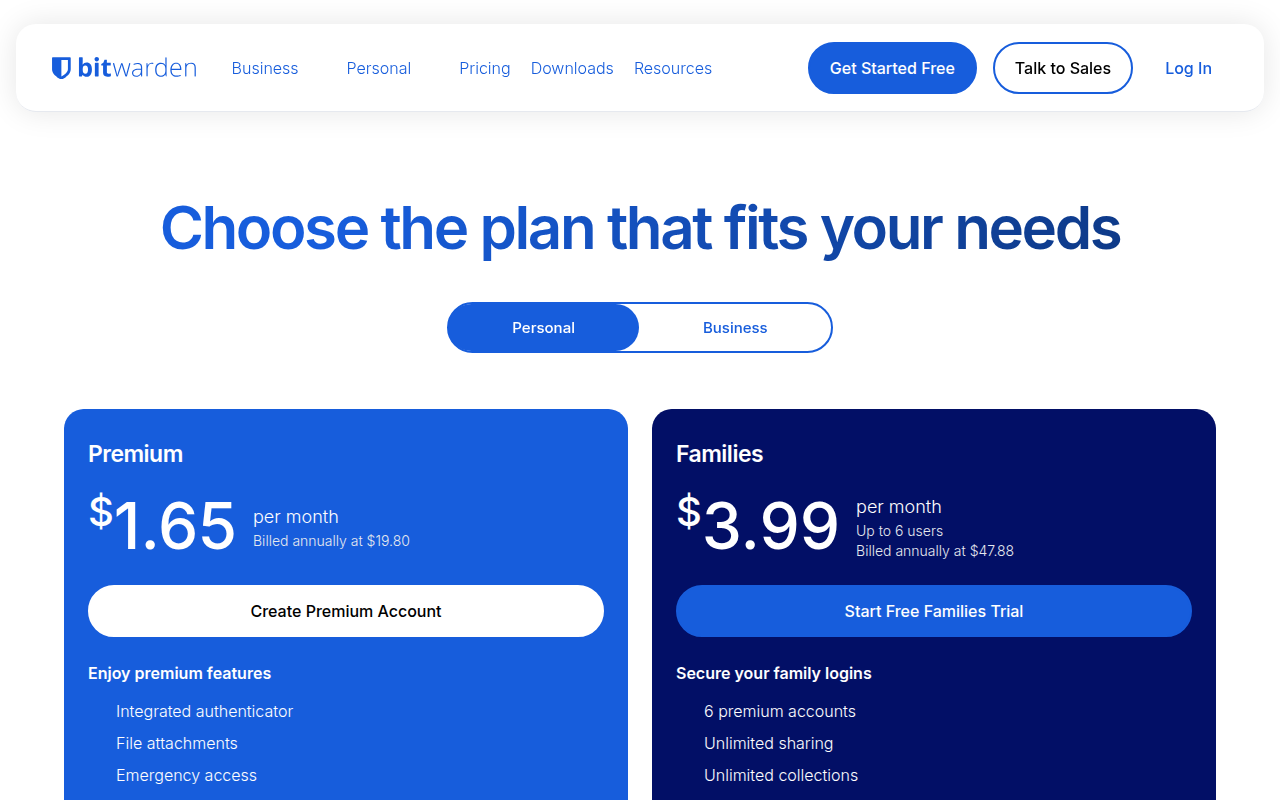
The free tier covers unlimited logins, unlimited devices, and secure sharing with one other person. That’s more than most paid competitors offered a few years ago. The paid plan ($10/year at time of writing) adds health reports, two-step login via hardware key, and 1GB of encrypted file storage — but for most users, free is enough to start.
If you’re comparing options, Bitwarden consistently ranks alongside 1Password and Dashlane, and many security professionals recommend it specifically because its code is open to public audit. For more context on how it compares, see our full password manager comparison for 2026.
Step 1: Create Your Bitwarden Account
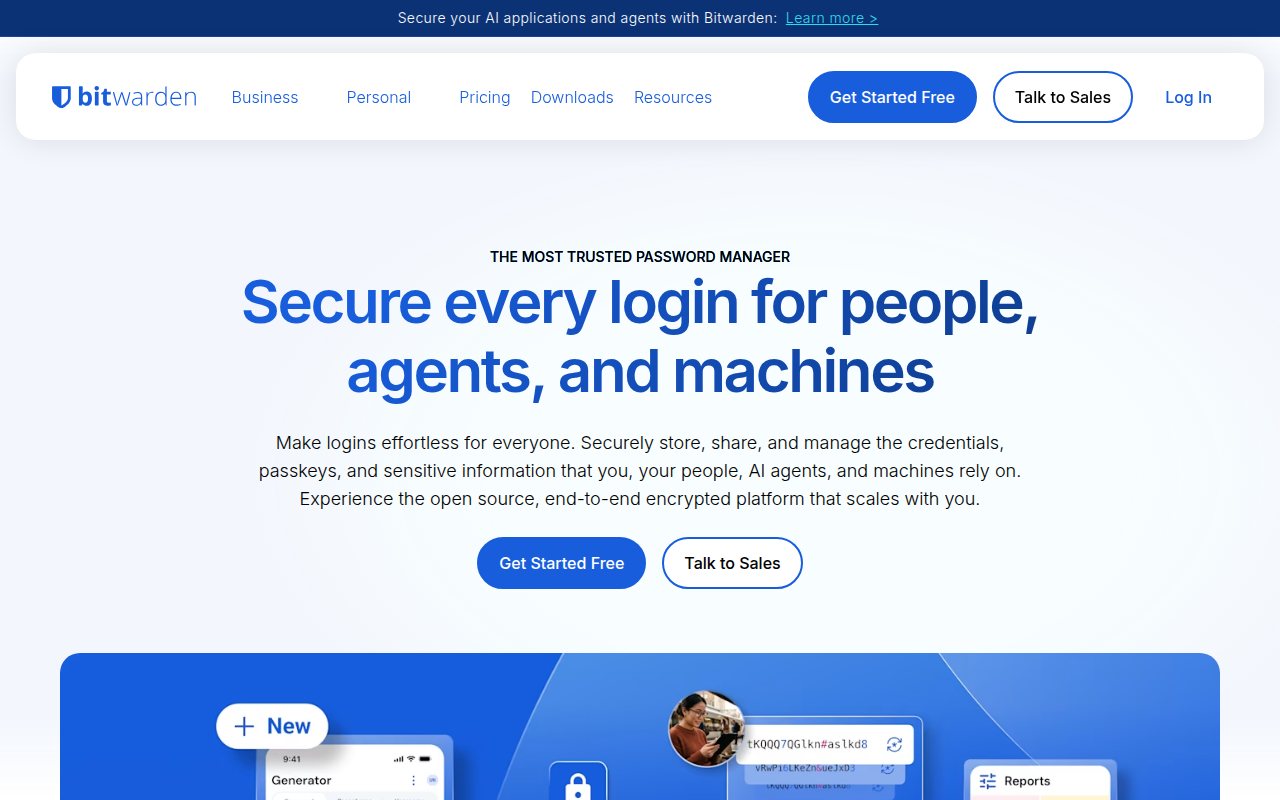
Go to bitwarden.com and click Get Started for Free. You’ll need an email address and a master password.
Your master password is the only password you need to remember. It decrypts your vault. Bitwarden never sees it — even if their servers were compromised, your vault stays encrypted. Choose something long and memorable: a passphrase of four or five unrelated words works well (“violet-crane-toast-mountain-77”), and is far stronger than a complex short password.
Don’t use a master password you’ve used anywhere else. Write it down on paper and store it somewhere secure — if you lose it, there is no recovery option. Bitwarden cannot reset it for you.
Step 2: Install the Browser Extension
After creating your account, the most important step is installing the browser extension — this is what makes Bitwarden actually useful day to day.
- Go to the browser extension store for your browser (Chrome, Firefox, Safari, Edge, or Brave).
- Search “Bitwarden” and install the official extension (it shows the shield icon and “Bitwarden” as the publisher).
- Click the extension icon in your toolbar and log in with your email and master password.
- Pin the extension to your toolbar for quick access.
Once logged in, Bitwarden will auto-fill saved credentials when you visit a site and offer to save new ones when you log in somewhere new. You can also use the keyboard shortcut Ctrl+Shift+L (Windows) or Cmd+Shift+L (Mac) to auto-fill without clicking the extension.
Step 3: Import Your Existing Passwords
If your passwords are currently saved in Chrome, Firefox, or Safari, you can export and import them in under five minutes.
From Chrome:
- Go to
chrome://settings/passwords - Click the three-dot menu next to “Saved Passwords” and select Export passwords
- Save the CSV file to your desktop
Import into Bitwarden:
- Log into your Bitwarden vault at vault.bitwarden.com
- Go to Tools → Import Data
- Select Chrome (csv) as the format
- Upload the file and click Import
Delete the CSV file from your desktop after importing — it contains your passwords in plain text.
Step 4: Install the Mobile App
Bitwarden has apps for iOS and Android. Install it from the App Store or Google Play, log in with your email and master password, and enable biometric unlock (Face ID, fingerprint) so you don’t need to type your master password on your phone every time.
Enable autofill in iOS Settings → Passwords → Password Options → select Bitwarden. On Android, go to Settings → Passwords & accounts and enable Bitwarden as your autofill provider.
Your vault is now synced across all your devices — add a password on desktop and it appears on your phone within seconds.
Step 5: Generate and Use Strong Passwords
The real security improvement comes when you start replacing your weak or reused passwords with generated ones. Bitwarden’s generator creates passwords you’d never remember — but you don’t need to, because the vault remembers them.
Next time you create an account on a new site:
- Click the Bitwarden extension icon in your browser
- Click the Generator icon
- Choose your length (20+ characters recommended) and include numbers and special characters
- Copy and paste it into the password field, then save when Bitwarden prompts you
Go back through your existing accounts for high-priority ones (banking, email, social media) and update them with generated passwords. This is the single highest-impact security step most people skip.
Step 6: Enable Two-Step Login
Even with a strong master password, enabling two-step login adds a layer that protects your vault if your master password is ever exposed. On the free plan, Bitwarden supports authenticator apps (like Google Authenticator or Aegis on Android).
- Log into vault.bitwarden.com
- Go to Account Settings → Security → Two-step Login
- Enable Authenticator App
- Scan the QR code with your authenticator app
- Save your recovery code somewhere offline — this is your backup if you lose your phone
Two-step login means that even if someone gets your master password, they still can’t access your vault without your phone. For more on building a full privacy toolkit, see our 2026 online privacy guide.
Tips for Getting the Most Out of Bitwarden
- Use the Vault Health Reports (Premium) to find duplicate, weak, or compromised passwords in bulk.
- Use Collections and Folders to organise logins by category: work, personal, banking, shopping.
- Use Secure Notes to store Wi-Fi passwords, software licence keys, and recovery codes.
- Enable Emergency Access (Premium) so a trusted contact can request vault access if something happens to you.
Common Questions
Is Bitwarden safe if their servers are hacked? Yes — your vault is encrypted locally before syncing. Bitwarden servers only ever see encrypted data. The open-source code means this can be independently verified.
Can I use Bitwarden offline? Yes — a cached copy of your vault is available offline. You can view and auto-fill passwords without an internet connection.
Should I pay for the Premium plan? The free tier is enough for most individual users. Premium is worth it if you want vault health reports, hardware key 2FA, or the 1GB encrypted file storage.
For readers who want to compare browser privacy tools alongside their password manager setup, our Brave vs Firefox vs Chrome guide covers the browser side of the same privacy stack.
Your Password Problem, Solved
Setting up Bitwarden takes about 20 minutes — 5 to create an account and install the extension, 10 to import your existing passwords, and 5 to set up the mobile app. After that, it mostly runs in the background: saving new logins automatically, auto-filling when you visit sites, and generating strong passwords when you need them.
The goal isn’t to remember every password. It’s to make sure every account has a unique, strong one — and Bitwarden is the free tool that makes that effortless.