
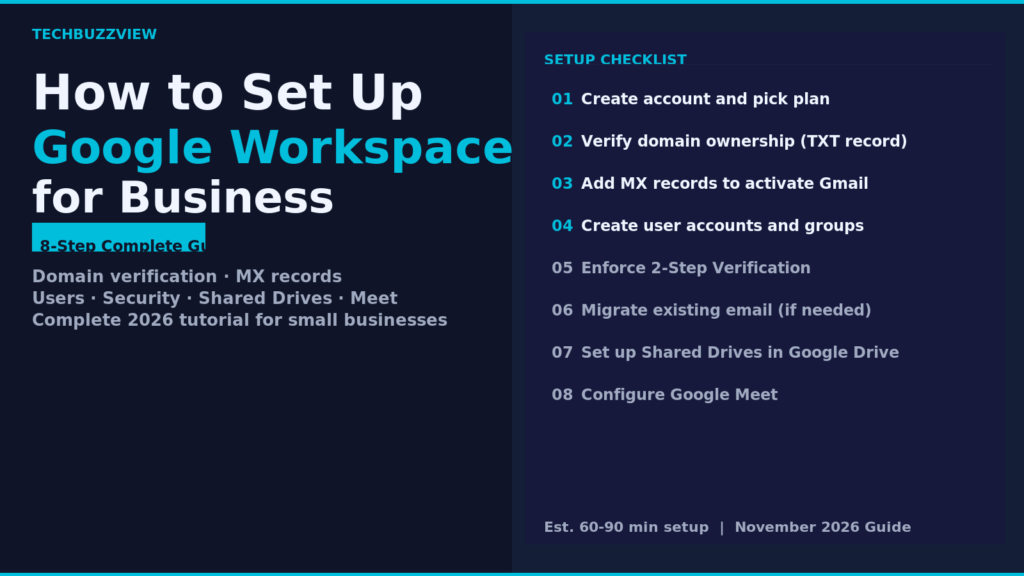
Google Workspace gives your business professional email on your own domain, shared cloud storage, video calls, and a full productivity suite — all in one place. For a team of 5 to 50, you can complete the core setup in 60 to 90 minutes. The longest wait is DNS propagation, which typically takes 15 minutes to a few hours depending on your registrar. Here is exactly how to do it.
Which Google Workspace Plan Should You Choose?
Google offers three main tiers for small businesses. Prices below are approximate US pricing per user per month on a monthly plan — verify current rates at workspace.google.com before purchasing, as prices change.
| Plan | Approx. Price | Storage Per User | Best For | Key Limit |
|---|---|---|---|---|
| Business Starter | ~$7/user/mo | 30 GB pooled | Solo operators and very small teams with light storage needs | No Meet recording; 100-participant Meet limit |
| Business Standard | ~$14/user/mo | 2 TB pooled | Most small businesses — the practical default choice | 150-participant Meet limit |
| Business Plus | ~$22/user/mo | 5 TB pooled | Teams needing eDiscovery, audit logs, or Vault | 500-participant Meet; Vault included |
The practical recommendation: Most businesses with more than three people should start with Business Standard. The Meet recording feature alone — required to record and share video calls — justifies the step up from Starter. If you are not sure, start with Standard and downgrade later if storage proves excessive.
Step 1: Create Your Google Workspace Account
- Go to workspace.google.com and click Get started.
- Enter your business name, number of employees, and country.
- When asked about your domain, choose Use a domain I already own and enter it. If you do not yet have a domain, you can purchase one through Google or use an existing registrar like Namecheap, GoDaddy, or Cloudflare.
- Create your first admin account using your business domain (for example,
you@yourdomain.com). This becomes the super admin account — secure it carefully. - Select your plan and complete billing.
You will land in the Google Admin console (admin.google.com). Most setup happens here.
Step 2: Verify Domain Ownership
Google requires you to prove you control the domain before activating Gmail and other services. The standard method is adding a TXT record to your DNS.
- In the Admin console, the setup wizard will display a unique TXT verification record — it looks like
google-site-verification=abc123XYZ.... - Log into your domain registrar (GoDaddy, Namecheap, Cloudflare, etc.) and open your DNS management panel.
- Add a new TXT record:
- Host/Name:
@(or leave blank — this means your root domain) - Value: Paste the full verification string from Google
- TTL: 3600 (or the default your registrar suggests)
- Host/Name:
- Return to the Admin console and click Verify domain. DNS changes can take 15 minutes to several hours to propagate globally. If verification fails immediately, wait 30 minutes and try again.
Note: Adding the TXT verification record does not change how your email currently works. Your existing email service continues until you update MX records in Step 3.
Step 3: Add MX Records to Activate Gmail
MX records tell the internet where to deliver email for your domain. Until you add Google’s MX records, messages sent to @yourdomain.com will not reach Gmail.
In your DNS management panel, delete any existing MX records pointing to your old provider, then add these five Google MX records:
| Priority | Mail Server |
|---|---|
| 1 | ASPMX.L.GOOGLE.COM |
| 5 | ALT1.ASPMX.L.GOOGLE.COM |
| 5 | ALT2.ASPMX.L.GOOGLE.COM |
| 10 | ALT3.ASPMX.L.GOOGLE.COM |
| 10 | ALT4.ASPMX.L.GOOGLE.COM |
After saving, allow up to 48 hours for full propagation, though most registrars complete it within an hour. You can check propagation using a free tool like MXToolbox.
Step 4: Create User Accounts and Groups
In the Admin console, go to Directory > Users.
- Click Add new user for each team member. Enter their first name, last name, and assign a primary email address.
- Google will auto-generate a temporary password. Send each user their login credentials securely — do not email plaintext passwords. Use a password manager or a secure sharing tool.
- For team-wide email addresses (like
support@yourdomain.comorsales@yourdomain.com), create Groups rather than individual accounts. Go to Directory > Groups, create a group, add members, and all messages sent to that address will reach the group members’ inboxes.
Groups are more flexible than aliases and do not consume a paid license seat.
Step 5: Enforce Security in the Admin Console
This step is frequently skipped and is the most common source of account compromises. Do not skip it.
Enforce 2-Step Verification (2SV) for all users
- In the Admin console, go to Security > Authentication > 2-step verification.
- Set the enforcement policy to On (requires 2-step verification) for all users in your organization. You can allow a grace period (1–7 days) so users can enroll before being locked out.
- Recommend Google Authenticator or a hardware security key rather than SMS codes, which are more vulnerable to SIM-swap attacks.
Set admin recovery options
Go to your super admin account profile and add a recovery phone number and a recovery email outside your Google Workspace domain. If you ever lose access to the super admin account, you need this information to recover it — without it, recovery requires contacting Google support with business verification, which can take days.
Configure login policies
Under Security > Access and data control > Context-aware access, consider restricting access from unusual locations or unmanaged devices if your business handles sensitive data.
Step 6: Migrate Existing Email (If Needed)
If you are moving from a previous email provider, Google provides a built-in migration tool. In the Admin console, go to Data > Data migration.
- Google supports migration from Microsoft Exchange, Microsoft 365, IMAP servers (including GoDaddy email, Zoho, and most web hosts), and older Gmail accounts.
- For Microsoft 365 migration, you can use the Google Workspace Migration for Microsoft Exchange (GWMME) tool for larger migrations.
- For simple setups (under 10 users, relatively light email history), users can migrate their own email from Gmail settings using the Import mail and contacts option.
Migration does not need to complete before you start using Google Workspace. Run it in parallel while your team onboards.
Step 7: Set Up Google Drive with Shared Drives
The most common Google Drive mistake is using personal My Drive folders for company files. When an employee leaves, their personal Drive files go with them — or at minimum become an administrative headache to recover.
Use Shared Drives for all company documents. Shared Drives are owned by the organization, not an individual user. When someone leaves, their files stay.
- In Google Drive, click Shared drives in the left sidebar, then New.
- Create drives organized by team or function:
Marketing,Operations,Finance,Client Work. - Set access levels carefully: Content Manager (can add, edit, reorganize), Contributor (can add and edit), Viewer (read-only). Avoid making everyone a Manager by default.
- Set a folder convention from day one. A flat list of files in the root of a shared drive becomes unmanageable quickly. A simple structure like
Year > Project > Deliverablesworks well for most teams.
Step 8: Configure Google Meet for Team Calls
Google Meet is included in all Workspace plans. No separate app or account is needed — it is accessible at meet.google.com and integrated directly into Google Calendar.
- When creating a Calendar event, click Add Google Meet video conferencing. The meeting link is automatically generated and included in the invite.
- For recurring team standups or external client calls, create a dedicated Calendar event with a persistent Meet link so participants can bookmark it.
- If you are on Business Standard or higher, enable meeting recording: in the Admin console go to Apps > Google Workspace > Google Meet > Meet settings, and turn on Recording. Recorded calls save automatically to the host’s Google Drive.
- For better call quality, encourage your team to use wired connections or quality headsets for important calls. Meet works in-browser with no software installation required.
Three Setup Mistakes to Avoid
- Skipping 2SV enforcement. Enabling 2-step verification at the account level is not the same as enforcing it for your whole organization. Go to the Admin console and enforce it. One account without 2SV is a liability for everyone.
- Storing everything in personal My Drive. Team files belong in Shared Drives. If you set this up correctly from day one, you will never deal with the “departed employee took all the files” problem.
- Not setting admin recovery options. The super admin account is your master key. Losing access to it without a recovery method means a painful, slow support process with Google. Set a recovery email and phone number now.
Getting Your Team to Actually Use It
The biggest Google Workspace adoption failure is technical setup that goes fine, followed by half the team continuing to email file attachments instead of sharing Drive links.
- Run a 30-minute team kickoff. Show people where the shared drives are, how to create a Google Meet from Calendar, and how to comment in Google Docs rather than emailing revisions back and forth.
- Establish norms early. Decide: do approvals happen in Gmail or in a shared Doc? Where does client work live? Written norms, even a simple one-page internal guide in your team Shared Drive, reduce the “where does this go?” friction.
- Use Google Chat for quick messaging. Included in all plans, Google Chat reduces email volume for internal back-and-forth. Encourage teams to use Spaces (persistent group chats) for ongoing projects.
- Remind users to sign in with their company account, not a personal Google account, when accessing Workspace apps. Browser confusion between personal and work accounts is a common early frustration.
What to Do After Initial Setup
Once the basics are running, a few additional Admin console settings are worth reviewing:
- Google Workspace Marketplace: Explore add-ons that connect your existing tools — CRMs, project management apps, and e-signature services often have direct Google Workspace integrations.
- Spam and routing settings: Under Apps > Google Workspace > Gmail > Compliance, configure content compliance policies if your industry requires email archiving.
- Endpoint management: For teams where employees use company devices, configure basic device management under Devices > Mobile & endpoints to enforce screen locks and allow remote wipe if a device is lost.
Google’s own quick start guide for small businesses is the authoritative reference for the latest Admin console navigation, since Google occasionally reorganizes menu locations between updates.
Setup takes an afternoon. The payoff — a consistent, professional email domain, cloud-first file collaboration, and meetings that actually start on time with a link everyone already has — is immediate.